

iPhone cameras are now capable of producing stunning, professional-quality photos.
However, to truly stand out, you need to utilize the proper iPhone photography techniques.
In this article, you'll learn the daily techniques pros rely on to capture sharp, creative, and eye-catching images.
Master the Grid and Composition
To take better photos with your iPhone, start with a strong composition.
Professional photographers rely on simple tools, such as the grid, to frame their shots more effectively.
- Enable the grid in Settings: Go to Settings > Camera and turn on the Grid to help line up your subjects.
- Use the rule of thirds: Place key elements along the lines or intersections to create balance and focus.
- Look for leading lines: Use roads, fences, or architecture to guide the viewer’s eye naturally into the frame.
- Center when needed: For symmetry or direct focus, don’t hesitate to break the rule and center your subject.
- Keep the background clean: Avoid distractions that pull attention away from the main subject.
- Try different angles: Move your phone up, down, or to the side to add interest and break the flatness of eye-level shots.

Use Manual Focus and Exposure
Controlling focus and exposure manually gives you sharper and more balanced photos.
Instead of relying on auto settings, learn to adjust them yourself for better results.
- Tap to focus: Tap on the part of the screen you want in sharp focus before taking the shot.
- Slide to adjust exposure: After tapping to focus, slide up or down to adjust the image's brightness.
- Lock focus and exposure: Press and hold on the screen until “AE/AF Lock” appears to keep settings steady.
- Avoid harsh lighting: Manual control helps reduce overexposure in bright scenes, such as those with direct sunlight or snow.
- Highlight your subject: Adjust exposure so the subject isn’t too dark or blown out.
- Review your shot: Use the photo preview to double-check focus and lighting before moving on.
Take Advantage of Burst Mode
Burst mode helps you capture fast action without missing the perfect moment. It’s a go-to trick for pros when shooting motion or unpredictable subjects.
- Hold the shutter button: Press and slide the shutter to the left (on newer iPhones) to activate burst mode.
- Great for action shots: Use it for sports, dancing, or any activity that involves quick movement.
- Ideal for kids and pets: Capture natural expressions without waiting for the perfect pose.
- Choose the best frame: After shooting, tap “Select” to pick the sharpest or most flattering shot.
- Avoid motion blur: Burst mode increases your chances of getting one clear image.
- Use with good lighting: Better light helps each burst frame stay sharp and usable.
Use the Telephoto and Ultra-Wide Lenses Wisely
iPhones with multiple lenses offer flexibility, but knowing when to use each one is key. Pros switch lenses based on what best fits the scene.
- Use a telephoto lens for close-ups: It brings distant subjects closer without requiring you to move your feet.
- Use an ultra-wide lens for landscapes: Capture more of the scene when space is tight or the view is expansive.
- Avoid digital zoom: Pinching to zoom lowers image quality—use physical lenses instead.
- Switch lenses in the Camera app: Tap the 0.5x, 1x, or 2x/3x buttons to toggle between views quickly.
- Mind distortion in ultra-wide: Edges can warp—keep subjects toward the center when possible.
- Use lens correction in editing: Apps like Lightroom can fix lens distortion for a cleaner result.
Use Portrait Mode Beyond People
Portrait mode isn’t just for faces. Pros use it creatively to highlight objects, animals, and details with a soft background blur.
- Capture food and products: Make meals or items stand out by blurring the background.
- Use it on pets: Works well when your pet is still and in a well-lit area.
- Try it on flowers or decor: Adds focus and depth to close-up shots of everyday things.
- Adjust depth after shooting: Use the Photos app to fine-tune the blur strength.
- Use natural light: Portrait mode looks more realistic with soft, natural lighting.
- Keep the subject still: Helps the iPhone separate the subject from the background more accurately.
Shoot in RAW for Maximum Editing Power
Shooting in RAW captures more image data than standard formats. This gives you greater flexibility when editing your photos later.
- Use Apple ProRAW: Available on iPhone 12 Pro and newer—enable it in Settings > Camera > Formats.
- More detail, more control: RAW files retain highlights, shadows, and texture for precise adjustments.
- Ideal for editing apps: Utilize tools like Lightroom, Snapseed, or VSCO to maximize the potential of RAW images.
- Larger file size: RAW photos require more storage, so use them only when needed.
- Use in tricky lighting: Helps recover blown-out skies or underexposed shadows.
- Edit before sharing: RAW photos usually look flat before editing—adjust contrast, color, and sharpness first.
Utilize the Hidden Timer
The timer feature is often overlooked but can improve stability and timing. Pros use it for group shots, selfies, and sharper images without a handshake.
- Set timer to 3s or 10s: Tap the arrow at the top of the Camera app, then the timer icon to choose your delay.
- Perfect for group photos: Gives you time to get in position without rushing.
- Avoid camera shake: Press the shutter, then let the phone stay still for a cleaner shot.
- Works well with a tripod: Combine the timer with a tripod for stable long exposures or low-light shots.
- Use for creative poses: Gives time to try different angles or compositions without help.
- Try it with burst mode: Combining timer and burst settings helps you capture dynamic poses or motion.
Experiment with Long Exposure in Live Photos
Live Photos can be turned into long exposures with just a few taps. This lets you capture motion creatively, even without a DSLR.
- Take a Live Photo: Ensure Live Photo is enabled before capturing a moving subject.
- Open the photo in your gallery: Swipe up on the image after capturing it.
- Select “Long Exposure”: Choose this effect to blur motion like flowing water or moving lights.
- Use a tripod or stable surface: Reduces camera shake and keeps the background sharp.
- Works well for night shots: Try it with traffic, fountains, or stars for dramatic effects.
- Avoid fast camera movement: Keep the iPhone still while shooting for a cleaner result.
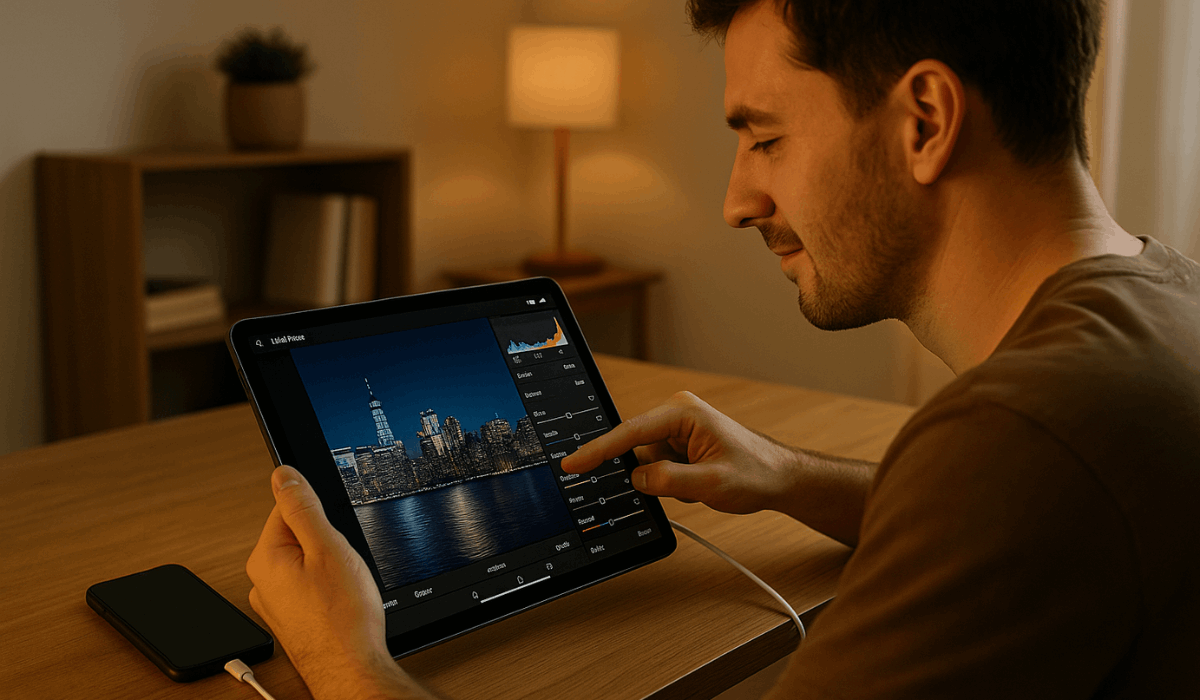
Use Editing Apps Like a Pro
Even great photos can benefit from smart editing. Pros use apps to fine-tune images and bring out the best in each shot.
- Start with the built-in Photos app: Use tools to adjust exposure, contrast, sharpness, and crop.
- Use Lightroom or Snapseed: These apps offer advanced controls with simple interfaces.
- Adjust, don’t over-edit: Aim for natural results by making small, controlled changes.
- Use presets for consistency: Save your favorite edits and apply them to other photos for a consistent look.
- Edit RAW files properly: Utilize the extra data for improved light and color control.
- Export in high quality: Save your edits in full resolution to maintain sharpness when sharing.
The Bottomline
Mastering iPhone photography tricks isn’t about having the latest model—it’s about using the proper techniques daily.
With these pro tips, you can capture sharper, more creative, and better-composed photos every time.
Start applying one or two of these tricks today and instantly elevate your photo game.


